Getting Started with the AeroPress - Inverted Method

For me personally, the AeroPress is a coffee tool that could be as equally appreciated by a coffee geek as it would be by a novice who is only just embarking on his coffee journey. Reading about all the techniques and recipes at the annual World AeroPress Competition and its regional qualifiers are the pinnacle of what can be achieved with this device.
However, there are basic recipes/techniques that one could use with minimal fuss and tools to get a great cup of coffee. Below is my general recipe, but it could be easily tweaked for personal taste/ preference.
Equipment required:
AeroPress
Kettle
Scoop/ scale
Stirrer/ spoon
Timer
The method described below is often described as “The Inverted Method”. The other method is known as the “Standard Method”.
I personally prefer the inverted method as it less rushed, but there are some who think that the risk of a messy spill when inverting the AeroPress before plunging is not justified.
I use 15 g of ground coffee with 220 g of water. The AeroPress comes with a delineated coffee scoop, a flat stirrer, and a ‘funnel’ to reduce spillage when plunging.
Method:
1. Boil your water. I use close to boiling water on light roasts and slightly cooled water on darker roasts.
2. Grind your beans (if applicable). I prefer using a medium grind, similar if not slightly coarser than used for a pour over. Due to the longer extraction time when compared to the Standard Method, I grind darker roasts slightly coarser than lighter roasts.
3. Set up your AeroPress in the inverted position on a scale (if applicable). Ensure that enough of the plunger is inserted into the device to prevent a spill whilst using this method.
4. Add 15g of ground coffee and ensure that it is level.
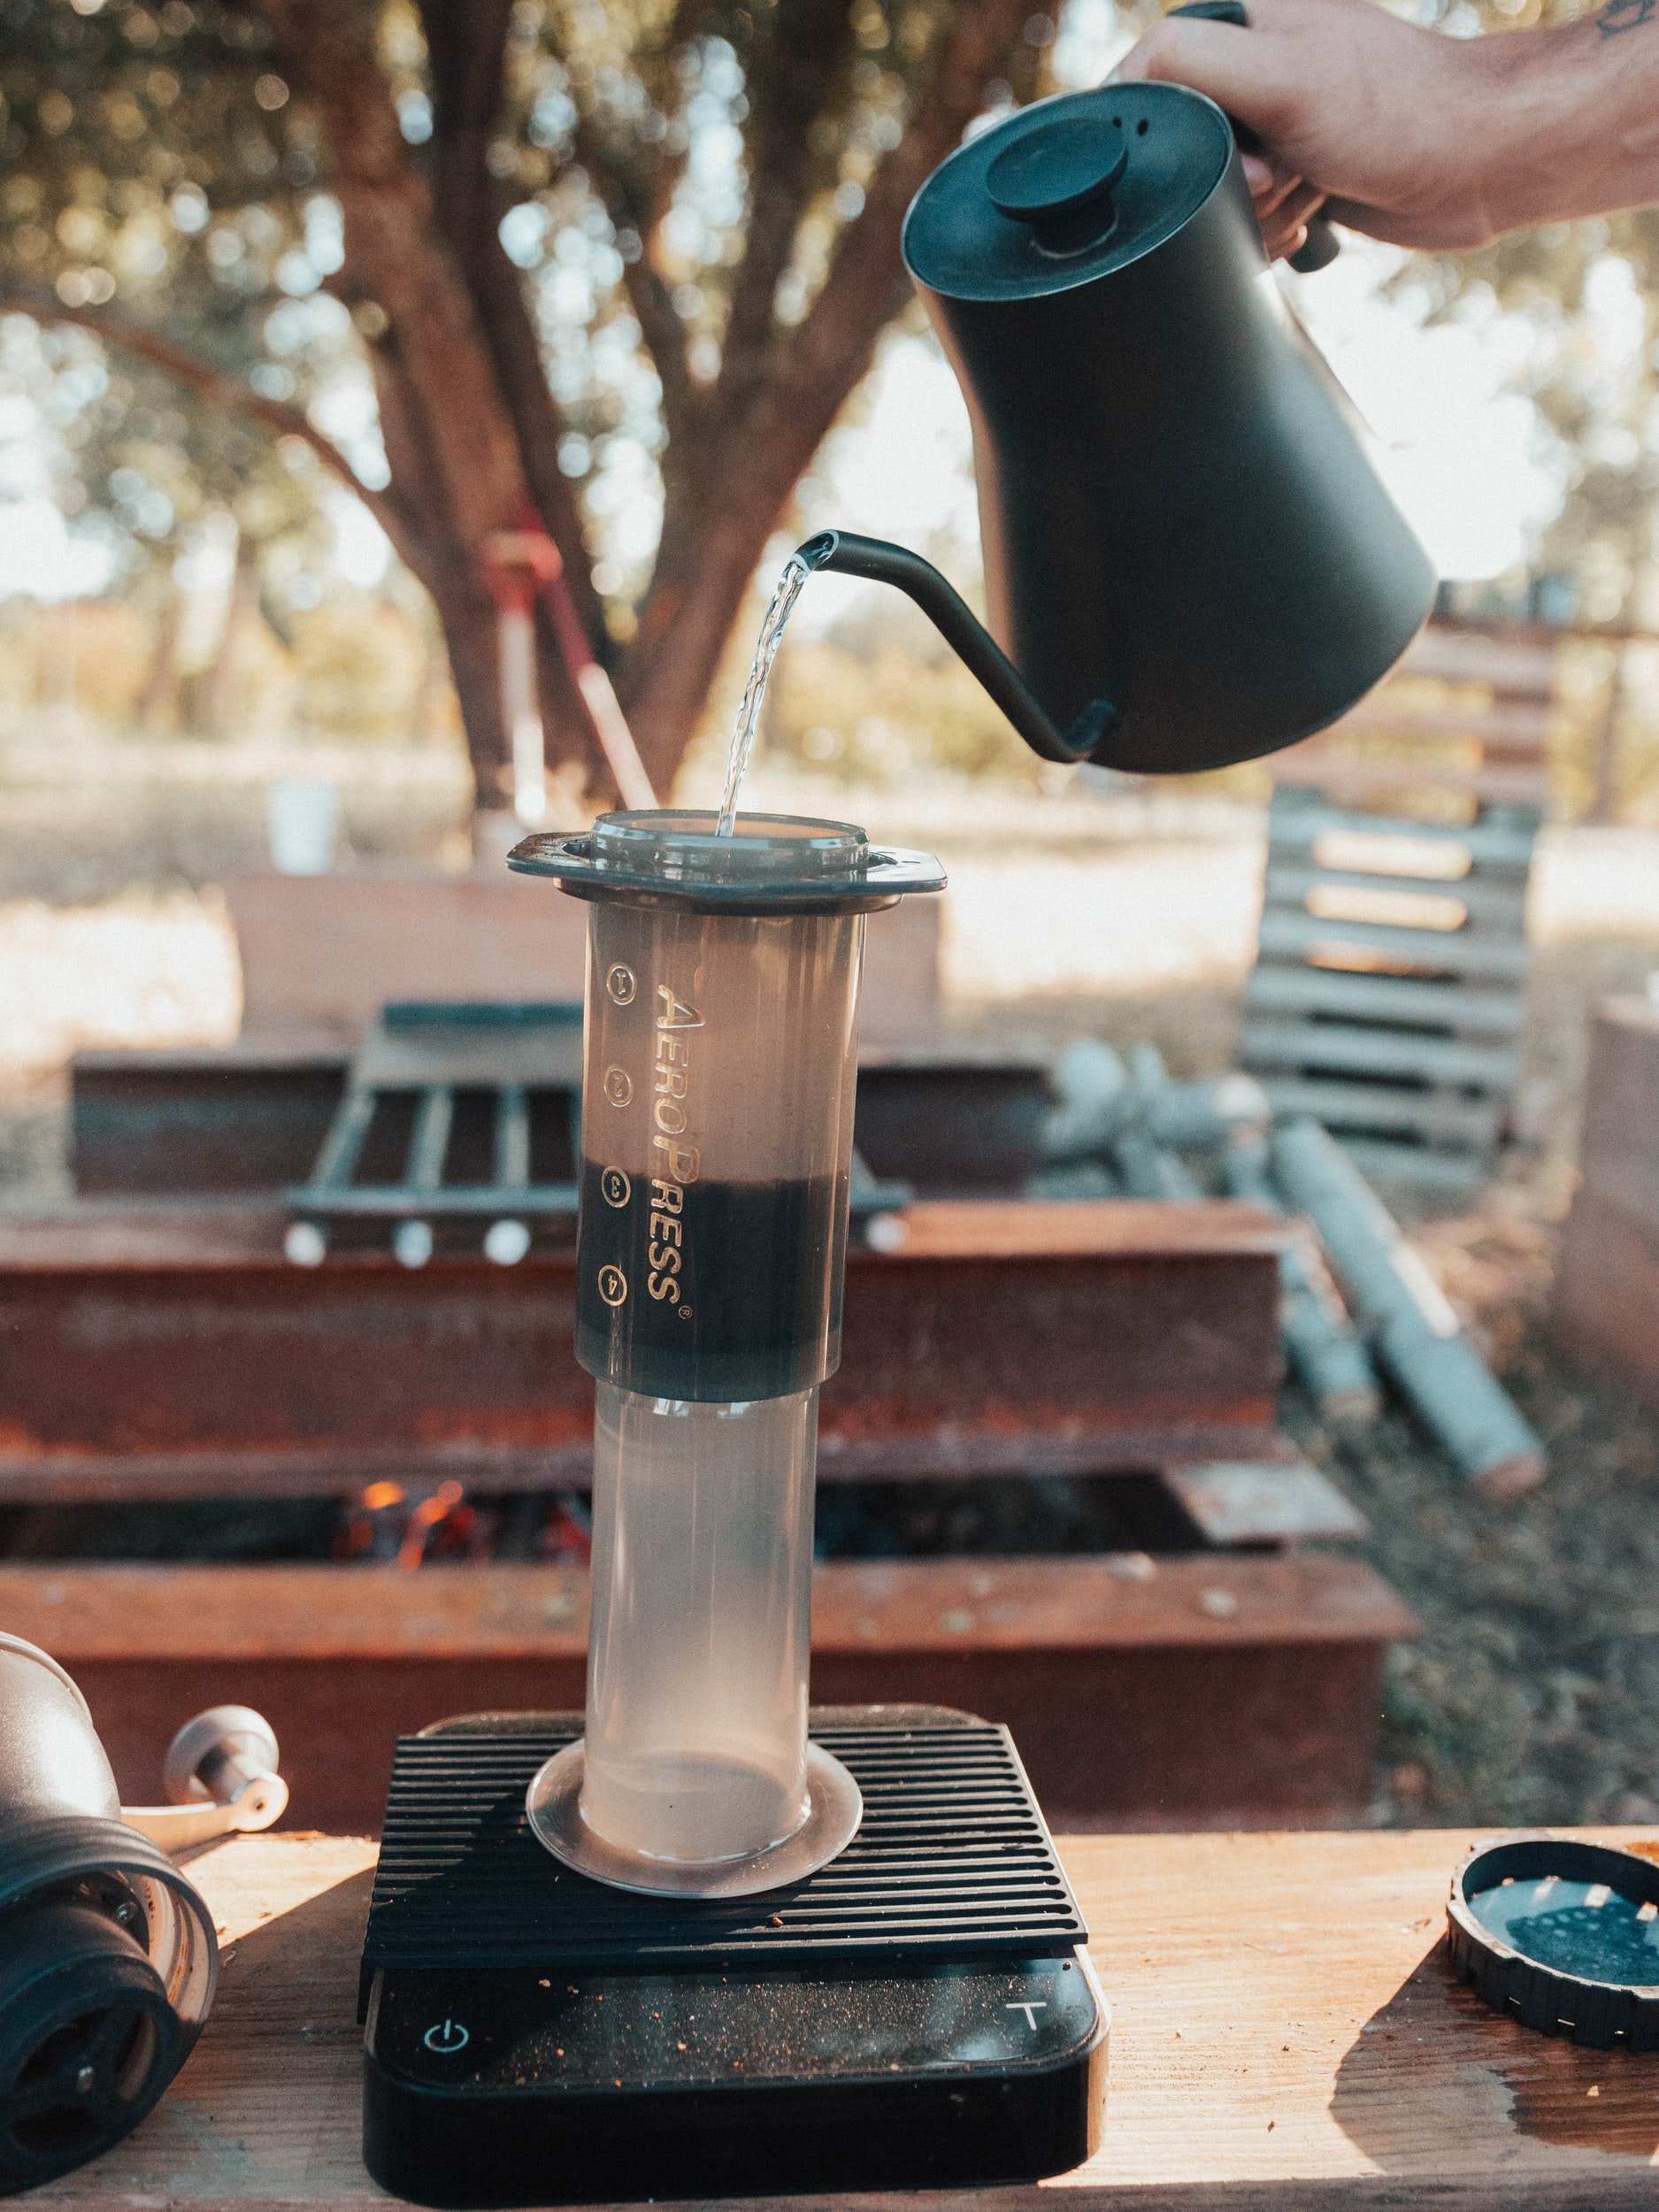
5. Start your timer and pour 220g of hot water over the coffee. Stir for 10 seconds and leave.
6. While the extraction progresses, wet your filter paper in the cap. Also, insert the funnel into the cup. Ensure that the cup is large enough to hold the coffee, so that it does not spill over when plunging.
7. After 1 min and 30 seconds, stir again for an additional 10 seconds and then cap the AeroPress and invert onto the funnel. The adventurous amongst us would swirl before plunging to ensure that all the coffee grounds are in the water 🙂.
8. Plunge slowly, but steadily for 20 – 30 seconds.
9. Enjoy your cup of coffee!

The AeroPress is a simple yet efficient tool that is easy to transport (think great coffee even when camping), quick to clean and perfect for experimentation.
If the resultant cup of coffee using the steps above, do not bring you satisfaction then you can change the ratio, grind, water temperature or extraction time.
Changing any of these variables would bring the taste profile closer to your individual preference i.e. if you prefer a stronger cup of coffee, then use 17 g of coffee with 220 g of water or if you find the resultant brew too bitter, then grind your beans slightly coarser.
Please let us know in the comments you thoughts/ experience using this method.
Happy Brewing!