3 Tips To Improve Your At-Home Espresso Experience
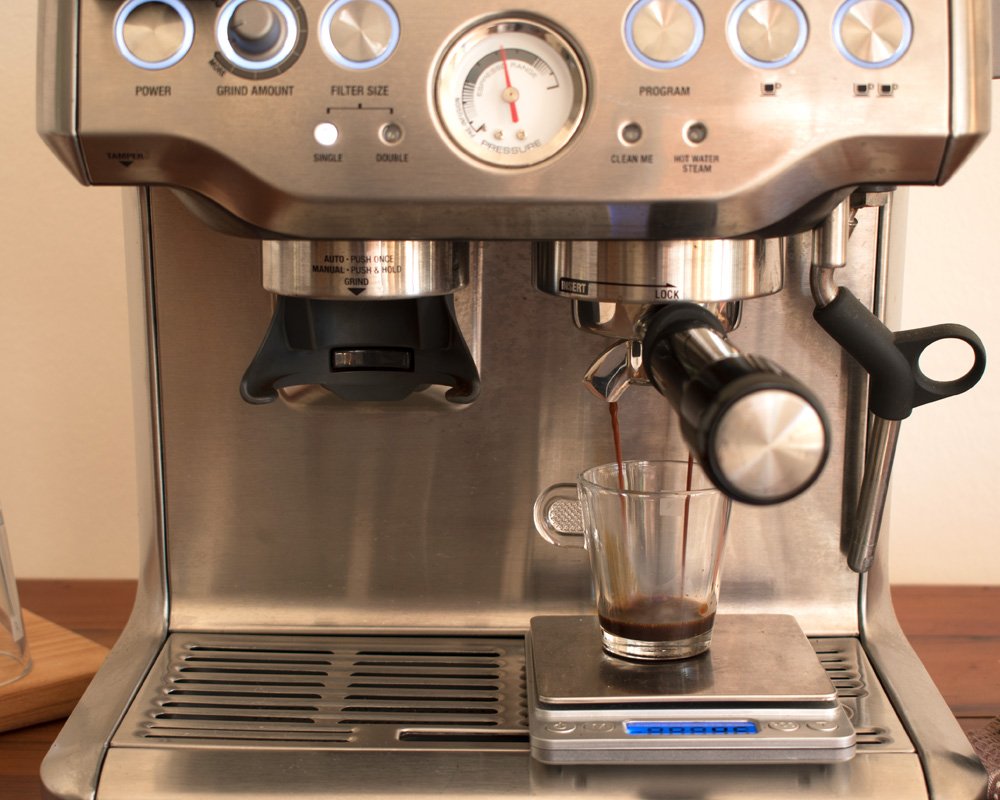
This is a Breville (Sage) Barista edition because that’s the only espresso machine I have ever had and will likely have. But I’m sure these tips can apply broadly to most home espresso machines.
Making espresso at home using a consumer machine comes with challenges that are rare to commercial machines or cafes. Therefore, you must adapt and implement somewhat uncommon practices to reduce frustration at home.
Here are my three tips to improve your home espresso experience.
Preheat your espresso machine for at least 10 minutes
I’ve watched my fair share of YouTube barista content, especially the early morning first-shift videos. The vlogging Baristas get the espresso machine warmed up and running well before the doors open. And that machine runs all day and is ready to go whenever a customer comes in.
Consumer machines for the home also need a suitable warm period, but you may think differently based on the manual. The Breville Barista manual, for example, says the machine takes 40 seconds to heat up and is ready when the power button stops flashing.
The machine will let you pull espressos after that brief warm-up cycle. Still, in my experience, the espressos were always under-extracted and ran too fast. This is possible because the water hadn’t reached a stable temperature. In addition, the group head and portafilter also need time to warm up. So if you pull a shot while they are cold, it could throw off the temperature of the extraction.
The 10-minute wait time allows the water temperature to stabilize and the group head and portafilter to increase temperature.
I’ve seen recommendations online that recommend 30 minutes to 45 minutes of warm-up time. That does seem extreme for home brewing. Especially since you are likely to pull only one or two shots each time, maybe two or three times a day at most. That is a lot of waiting.
But since every machine is different, you should experiment with yours. For example, experiment with a 10-minute preheat time and observe the extraction to see if it makes a difference. And also, try running the machine to accelerate the heat transfer from the water to the group head and water filter. This might shorten the preheat time.
But if you want to preheat your machine, a tip from me is to set a timer on your phone to remind you to go back to the machine and start pulling. I often switch on my machine, then get back to my desk and start working only to remember I had it warming up like 40 minutes later, long after it has already switched itself off.
Preheat the cups
Commercial espresso machines have cup warmers across the top of the machine. These warmers have directed heating systems that heat the warming tray. This active heating sufficiently heats the cups and keeps them warm all day, ready to use when needed.
The cups need to be warmed for 2 reasons - the small espresso shot will start cooling as soon as it is dropped into the cup, and a cold cup will draw all the heat out of the espresso and steamed milk, making it unpleasant to drink.
The same problem exists for home espresso brewing. Still, most home espresso machines don’t do a good enough job of heating the cups, but it’s not likely that you have your machine running all day primed for when you want an espresso.
The Breville Barista Express has a cup warmer, but it’s heated using run-off heat from the boiler. So it is not actively heated. So it takes a while for the cups to warm using the warmer. So even if you allow a sufficient preheat time, the cups won’t be warmed enough.
I’ve solved this problem by covering the cups with a dishcloth while sitting on the warmer. This seems to insulate the cups, preventing heat loss, so they are warmer when I am ready to use them.
Sometimes though, I forget to stack my cups onto the warmer, so before I start extracting, I pour some of the boiling water into the cup and allow it to heat up.
The Breville instruction book recommends preheating the cup by rinsing it with hot water and then placing it on the warming tray until needed.
Use a jug to top off the reservoir
Unless you have renovated and built a custom espresso station in your home, you are not likely to have piped water to your espresso machine. Though we can all dream…
Cafes have piped water to their machines, so the Baristas never have to worry about the water supply. But for home machines, you have to.
It’s important not to let the water level in an espresso machine reservoir drop below the minimum. Otherwise, air might get sucked into the system. I’ve made this mistake with my previous Nespresso machine, not my Breville, thankfully. It would take a few nervous tries to purge the air from the Nespresso machine.
Due to space issues, my espresso machine is on a workstation just outside of my kitchen. I found removing the reservoir from the machine, then carrying the water reservoir to the sink and back a little annoying. It was the ergonomics of the reservoir that was the issue. So I replaced that task by filling the reservoir with a jug. I pop the top open and fill up with the jug, then close the reservoir top, and I’m done. Then I refill the jug as needed.
This seems like a throw-away tip, but trust me, it eliminated some frustration with my espresso workflow.
But, you have to be careful by pouring slowly and directly into the reservoir. Don’t rush it else you might spill water onto the electrics or near the grinder. That will be a problem, so proceed with caution.
There you have it! Three tips that might be obscure to beginner espresso slingers but tips that can significantly improve the home espresso experience.