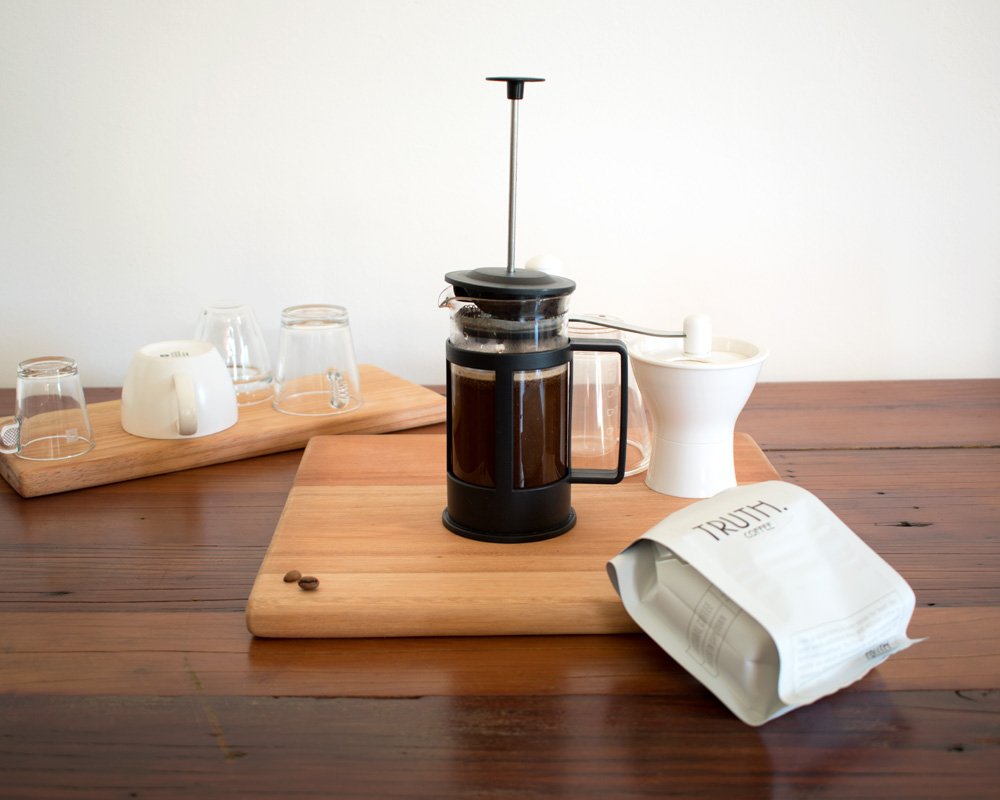
French Press Coffee - Brewing Truth Coffee’s Medium Roast Specialty Beans
I recently wrote about dialing the Truth Coffee's Fazenda Sao Joao Limited Edition, medium roasted bean on my espresso machine. Check out that article here.
The Roaster included a little booklet in the box that recommended steeping the coffee as the best brewing option.
Once I had dialed it in as an espresso, I wanted to try it as an immersion brew to see if I could taste the bean at its best.
Here are my notes about the bean. These notes informed my brewing process:
Elevation - ±1200m - This indicates a denser bean. Extracting the right flavors is more challenging. The elevation can also influence the bean flavor. At this altitude, there is a leaning toward possible citrus, chocolate, or vanilla flavors. Based on the other aspects, it is more likely that the citrus notes will shine through.
Roast Level - medium - It's not easy to judge the roast level, but it is in the medium range. It's not dark and oily like a typical espresso roast. Neither is it light and dry like a lighter roast. The medium roast level means the beans will have maintained the density and should also have a balance of acidity, sweetness, and bitterness.
Processing - carbonic maceration - The coffee beans are fermented in a carbon dioxide-rich environment, resulting in a bright, winey, red fruit flavor. These qualities would mean the coffee would taste lively and not dulled by bitter notes. It would also have some tartness.
Tasting Notes - red grape, plum, cherry - The processing has influenced the tasting notes. The fruity-tasting notes indicate a sweetness that balances with some tartness.
Here was my brewing plan:
Coarse grind - I used my hand grinder to grind the beans. Going finer would result in grounds in the final cup. So while I was aware that the medium roast and the elevation affected density and, therefore, the extraction, I decided to deal with that via the brew duration and heat management.
Ratio - I opted for a 1:16 brewing ratio which works out to 15.6g of coffee to 250g of water in.
Brew Time - I decided on a 7-minute brew duration.
Heat Management - I decided to preheat the French press carafe and mug and insulate the French press during the brewing period.
Here is my brewing process:
Prepare the following items - French press, mug, scale, grinder, spool, kettle, and dishcloth.
Boil kettle.
Preheat the carafe and mug with boiled water.
Weigh out the coffee and grind the full dose.
Dump the water out of the carafe, and place the French press on the scale.
Drop in the ground coffee, and zero the scale.
Reboil the kettle.
Start the timer as soon as the water has boiled - my timer counts down from 7 minutes.
As soon as the timer starts, pour about 80g of water into the carafe and stir until the first 30 seconds are over.
Stop stirring and add the rest of the water as per the dosing ratio.
Gently move the French press off the scale.
Top the carafe with the plunger, setting the plunger just above the coffee grounds.
Wrap the carafe with the dishcloth, careful not to push the plunger.
Once the 7 minutes are up, unwrap the French press and gently press down the plunger.
Get rid of the water from the mug and pour out the French press coffee.
The coffee was outstanding.
Light and bright, fruity acidity with roasted notes balancing out the overall taste. It was medium-bodied and had a pleasing aftertaste that finished well. This bag of coffee was one of the best I've ever brewed myself at home.
I truly enjoyed the experience of trying to understand the coffee before brewing it and then finding a brewing plan that brought the coffee to life the way the roaster intended. Please give this a try yourself.


