7 French Press Tips No One Talks About
Tip 1: Start with a recipe, but don’t use the recipe on the bag
The recipe found on the back of the bag does not take into account your taste preferences and it does not provide good brewing techniques for the French press.
Ignore the bag and find a good process on the internet. I started with this recipe from bluebottlecoffee.com
After a long period of trial and testing, I eventually developed my go-to recipe that builds on the Blue Bottle recipe: An Everyday French Press Recipe
A good recipe will be the foundation that you can build on.
Tip 2: Be prepared before you start brewing, have all your stuff out
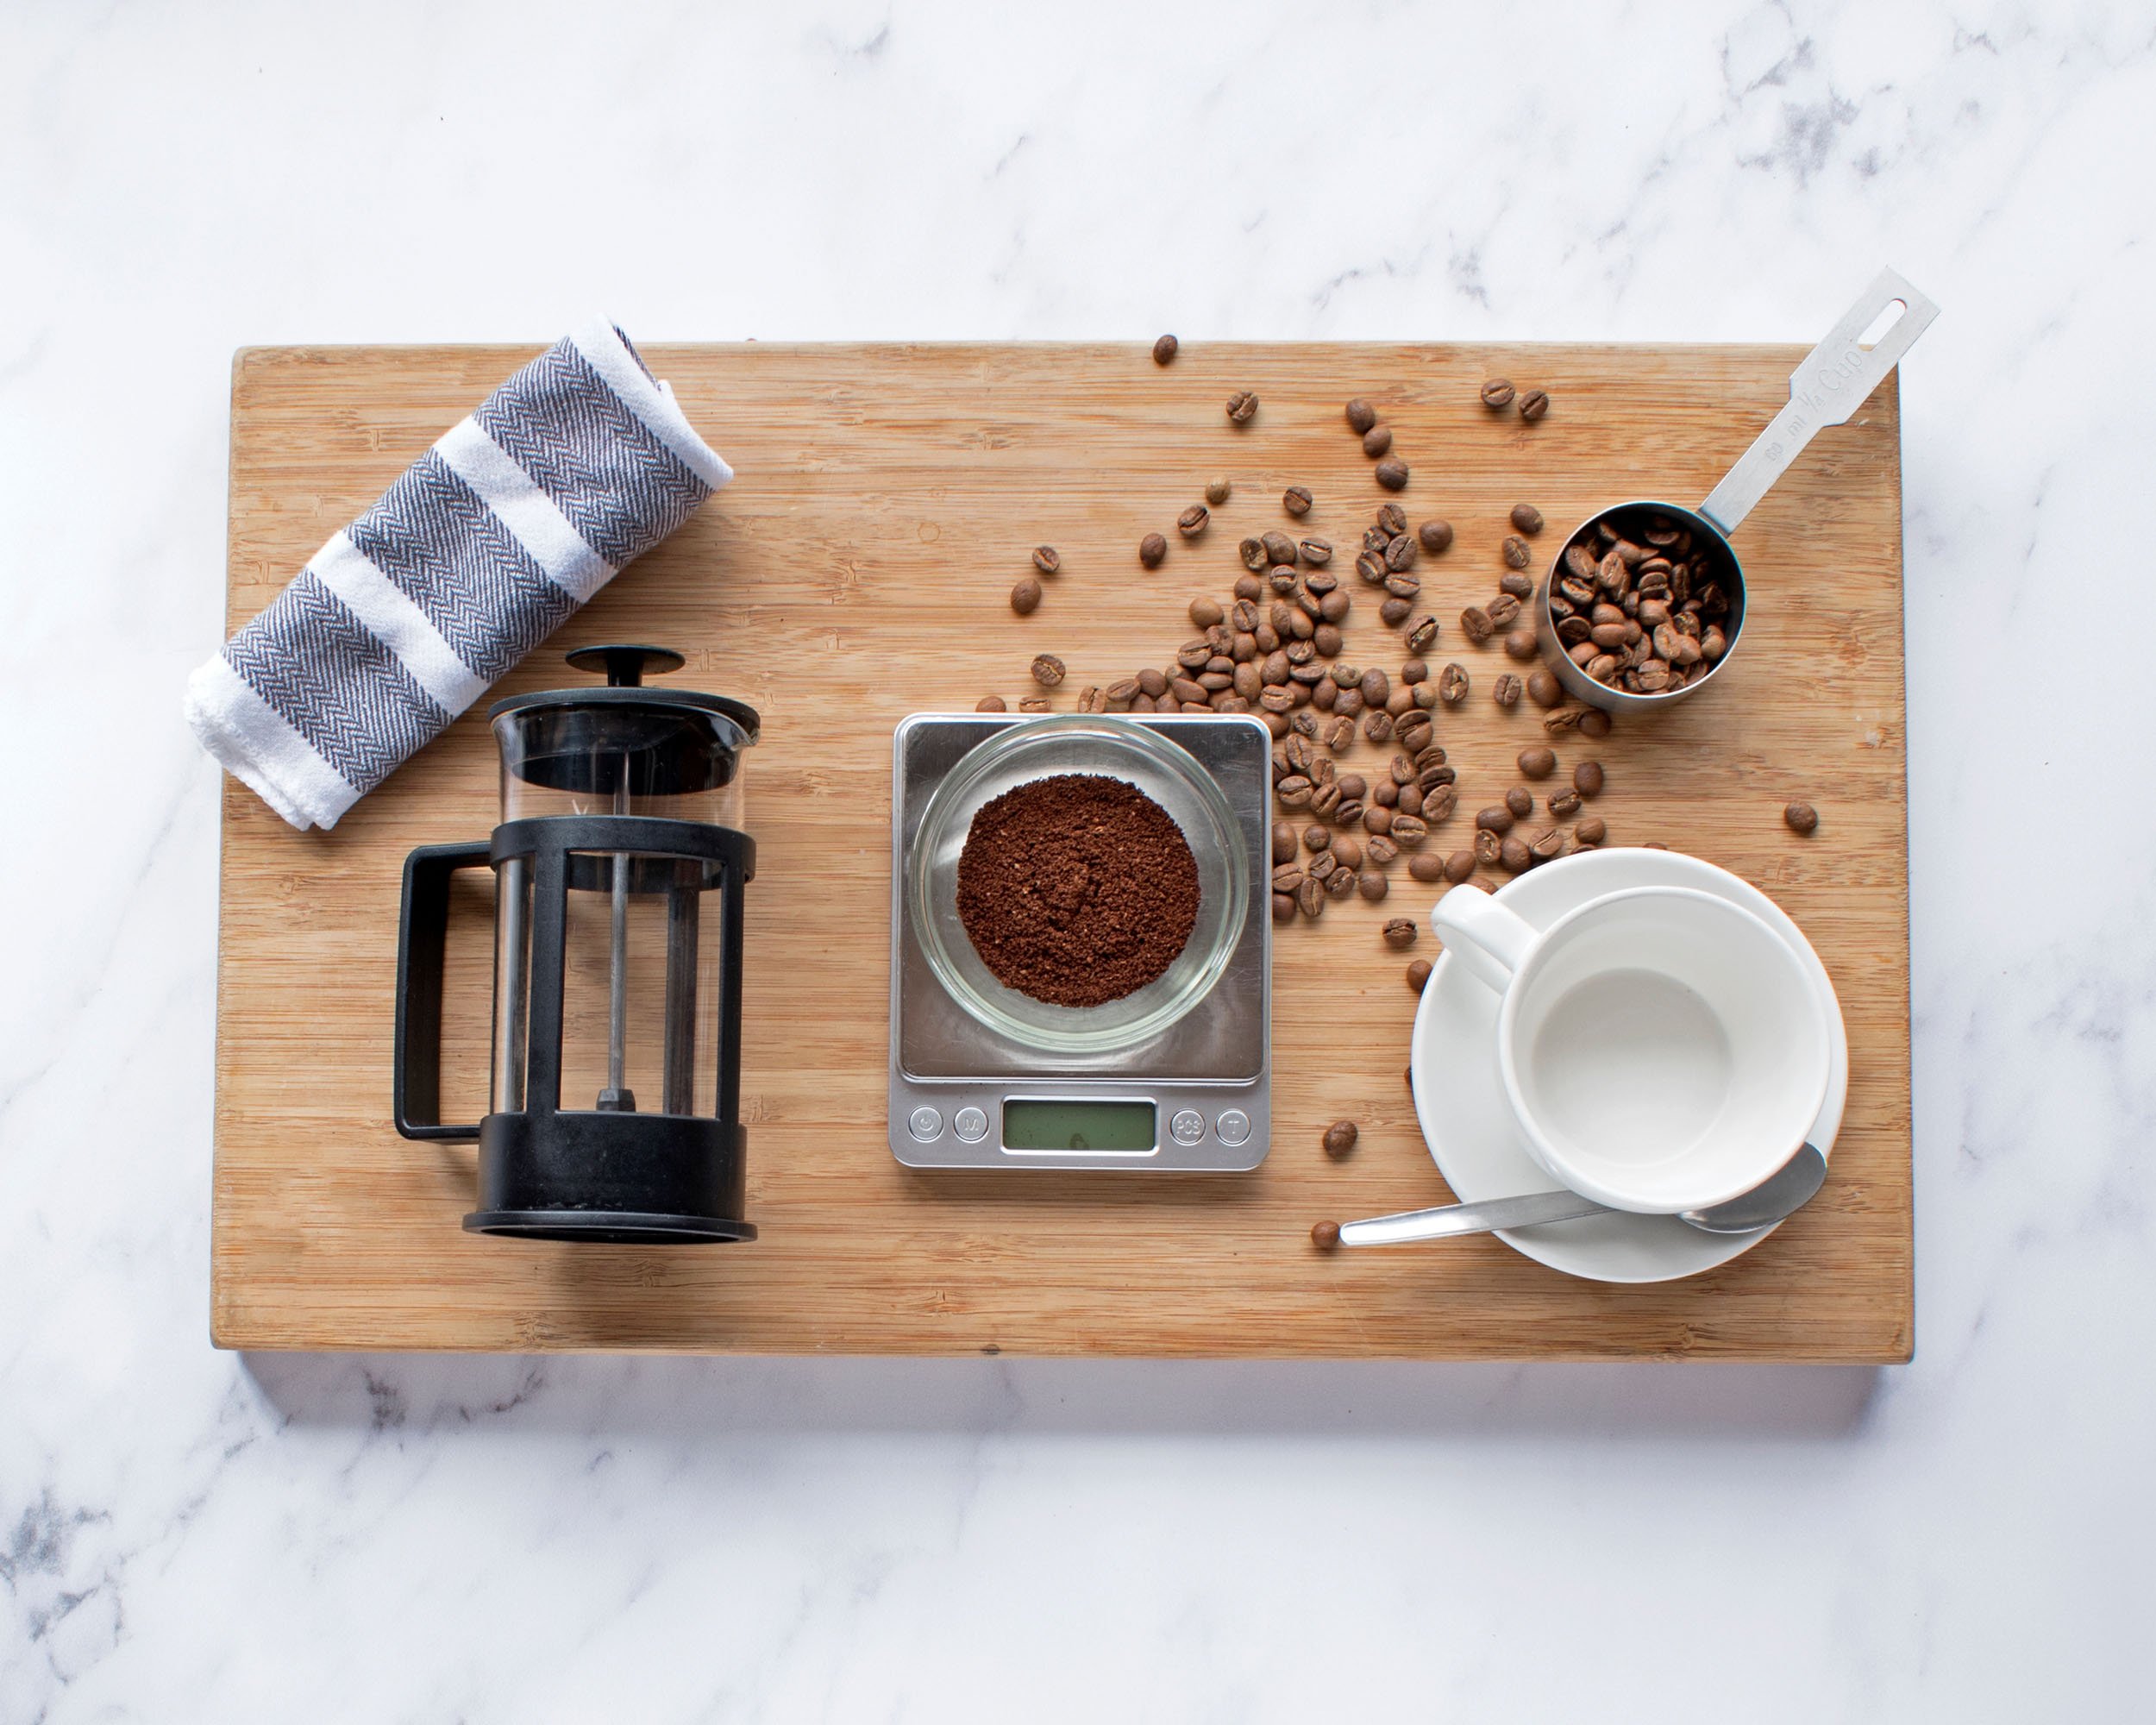
Brewing using a French press follows a specific sequence and timing. There are lots of steps at the start of the brewing and then again at the end. Both phases will need you to be ready with your utensils, cups, boiling water, weighed grounds, etc.
Figure out your workflow and have your station set up for a smooth, well-controlled brewing experience.
Preparation includes warming up the milk if you take your coffee with milk. The coffee cools down over the long brew time, and adding cold milk will result in a lukewarm drink.
Tip 3: Grind size influences the brew time and texture, so change the recipe if needed

Larger grounds take more time to extract than finer grounds. That’s the reason the French press brew time is often stated as 4 minutes. That’s a long time compared to the 20 to 30 seconds of an espresso shot or 3 minutes for a pour-over.
If you are opting for finer grind sizes, adjust your brewing time. Shorter brewing times will help you avoid over-extracting the grounds.
Most importantly with this tip, you have to use a timer, and also record brewing times so you know what adjustments are needed for the next brew.
Finer grind sizes also easily escape through the French press filter. This can result in sediment in the coffee, affecting the texture of the drink. This can be controlled by allowing the grounds to settle to the bottom of the French press carafe by breaking the crust and pouring out the coffee slowly to avoid the grounds escaping.
Tip 4: Blooming and agitation can help improve extraction, so adapt the recipe if needed
If you find the taste of your coffee a little sour (under-extracted), consider adding a blooming period, and if needed, include some agitation during the blooming period.
Tip 5: Keep notes while in the dialling in stage
“Dialling in” is the stage when you are testing different coffee ratios or tweaking your process to get the best out of the coffee bean.
Beans are organic and have variations even within the brand and range. Tracking your dialling-in process in a notebook will ensure you don’t forget the details of your brew recipe, and the specific changes you want to make.
Tip 6: Learn how to troubleshoot
Dialling in the brew is one part of troubleshooting. You can also troubleshoot the recipe processes or even tools and equipment issues.
Here’s an article covering troubleshooting for French press: Guide to Troubleshooting your French Press Brew
Tip 7: Choose a different recipe
Choose a different recipe if your initial recipe is not working for you. Or choose a different recipe to try different approaches that will give you a different brewing experience and coffee result.