Guide to Troubleshooting your French Press Brew
Like most coffee drinking adults, I own a French press brewer. That brewer led me to imagine spending Sunday mornings with a hot, delicious coffee, a croissant and a smile.
The reality was that my coffee was never delicious. I did not know how to make a tasty cup of coffee. This situation had to change so I set off on a learning binge.
I spent time reading articles, watching YouTube tutorials and free online workshops, and I even took an online short course.
I wrote out some guides for myself, tips and tweaks based on the collection of points from everything I learned. I realised that it was possible to link each factor of the brew process to an outcome or collection of factors to an outcome, and if I could troubleshoot it, then I could get better coffee and be better at brewing in general.
But it all really came together and made practical sense when I set up a testing routine and tracked all my brew attempts and applied my troubleshooting guides at each new attempt.
I’m going to share my complete guide to troubleshooting your French press coffee in the hopes that it can be helpful to you, whether you are a novice or are more experienced.
I’m working in grams for the coffee and water weights. If you only use volume measures, you can translate the information as needed.
First though, some pre-brewing planning is needed. I’ve listed 6 steps to follow prior to starting your brewing.
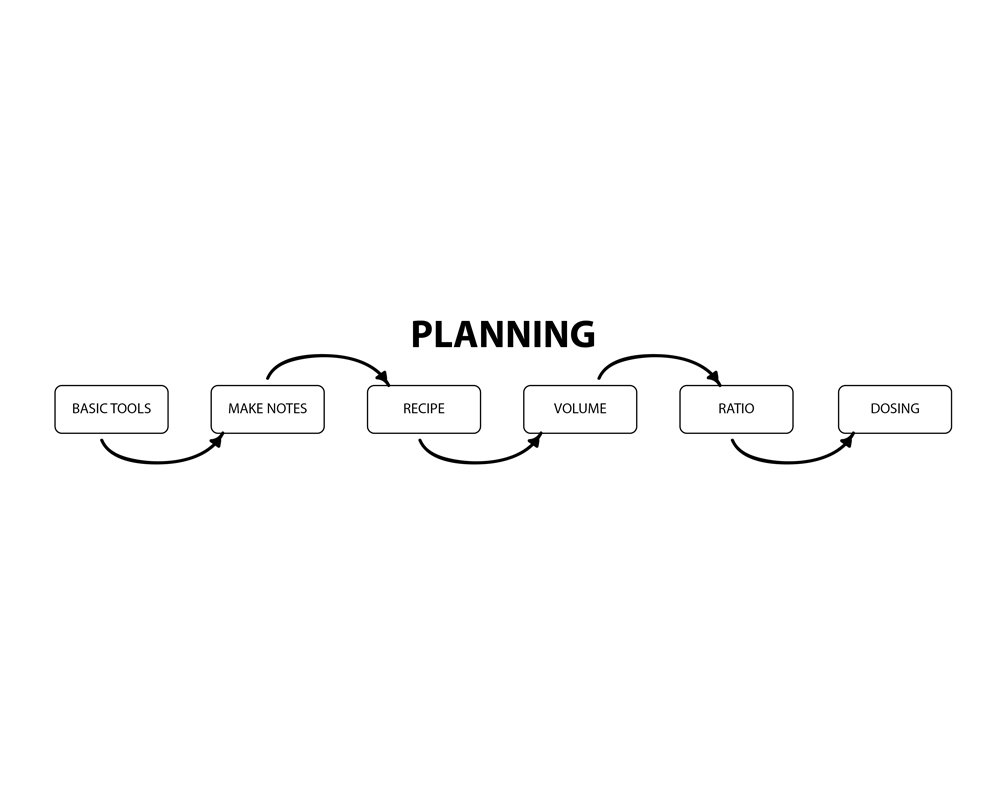
Step 1: Basic tools
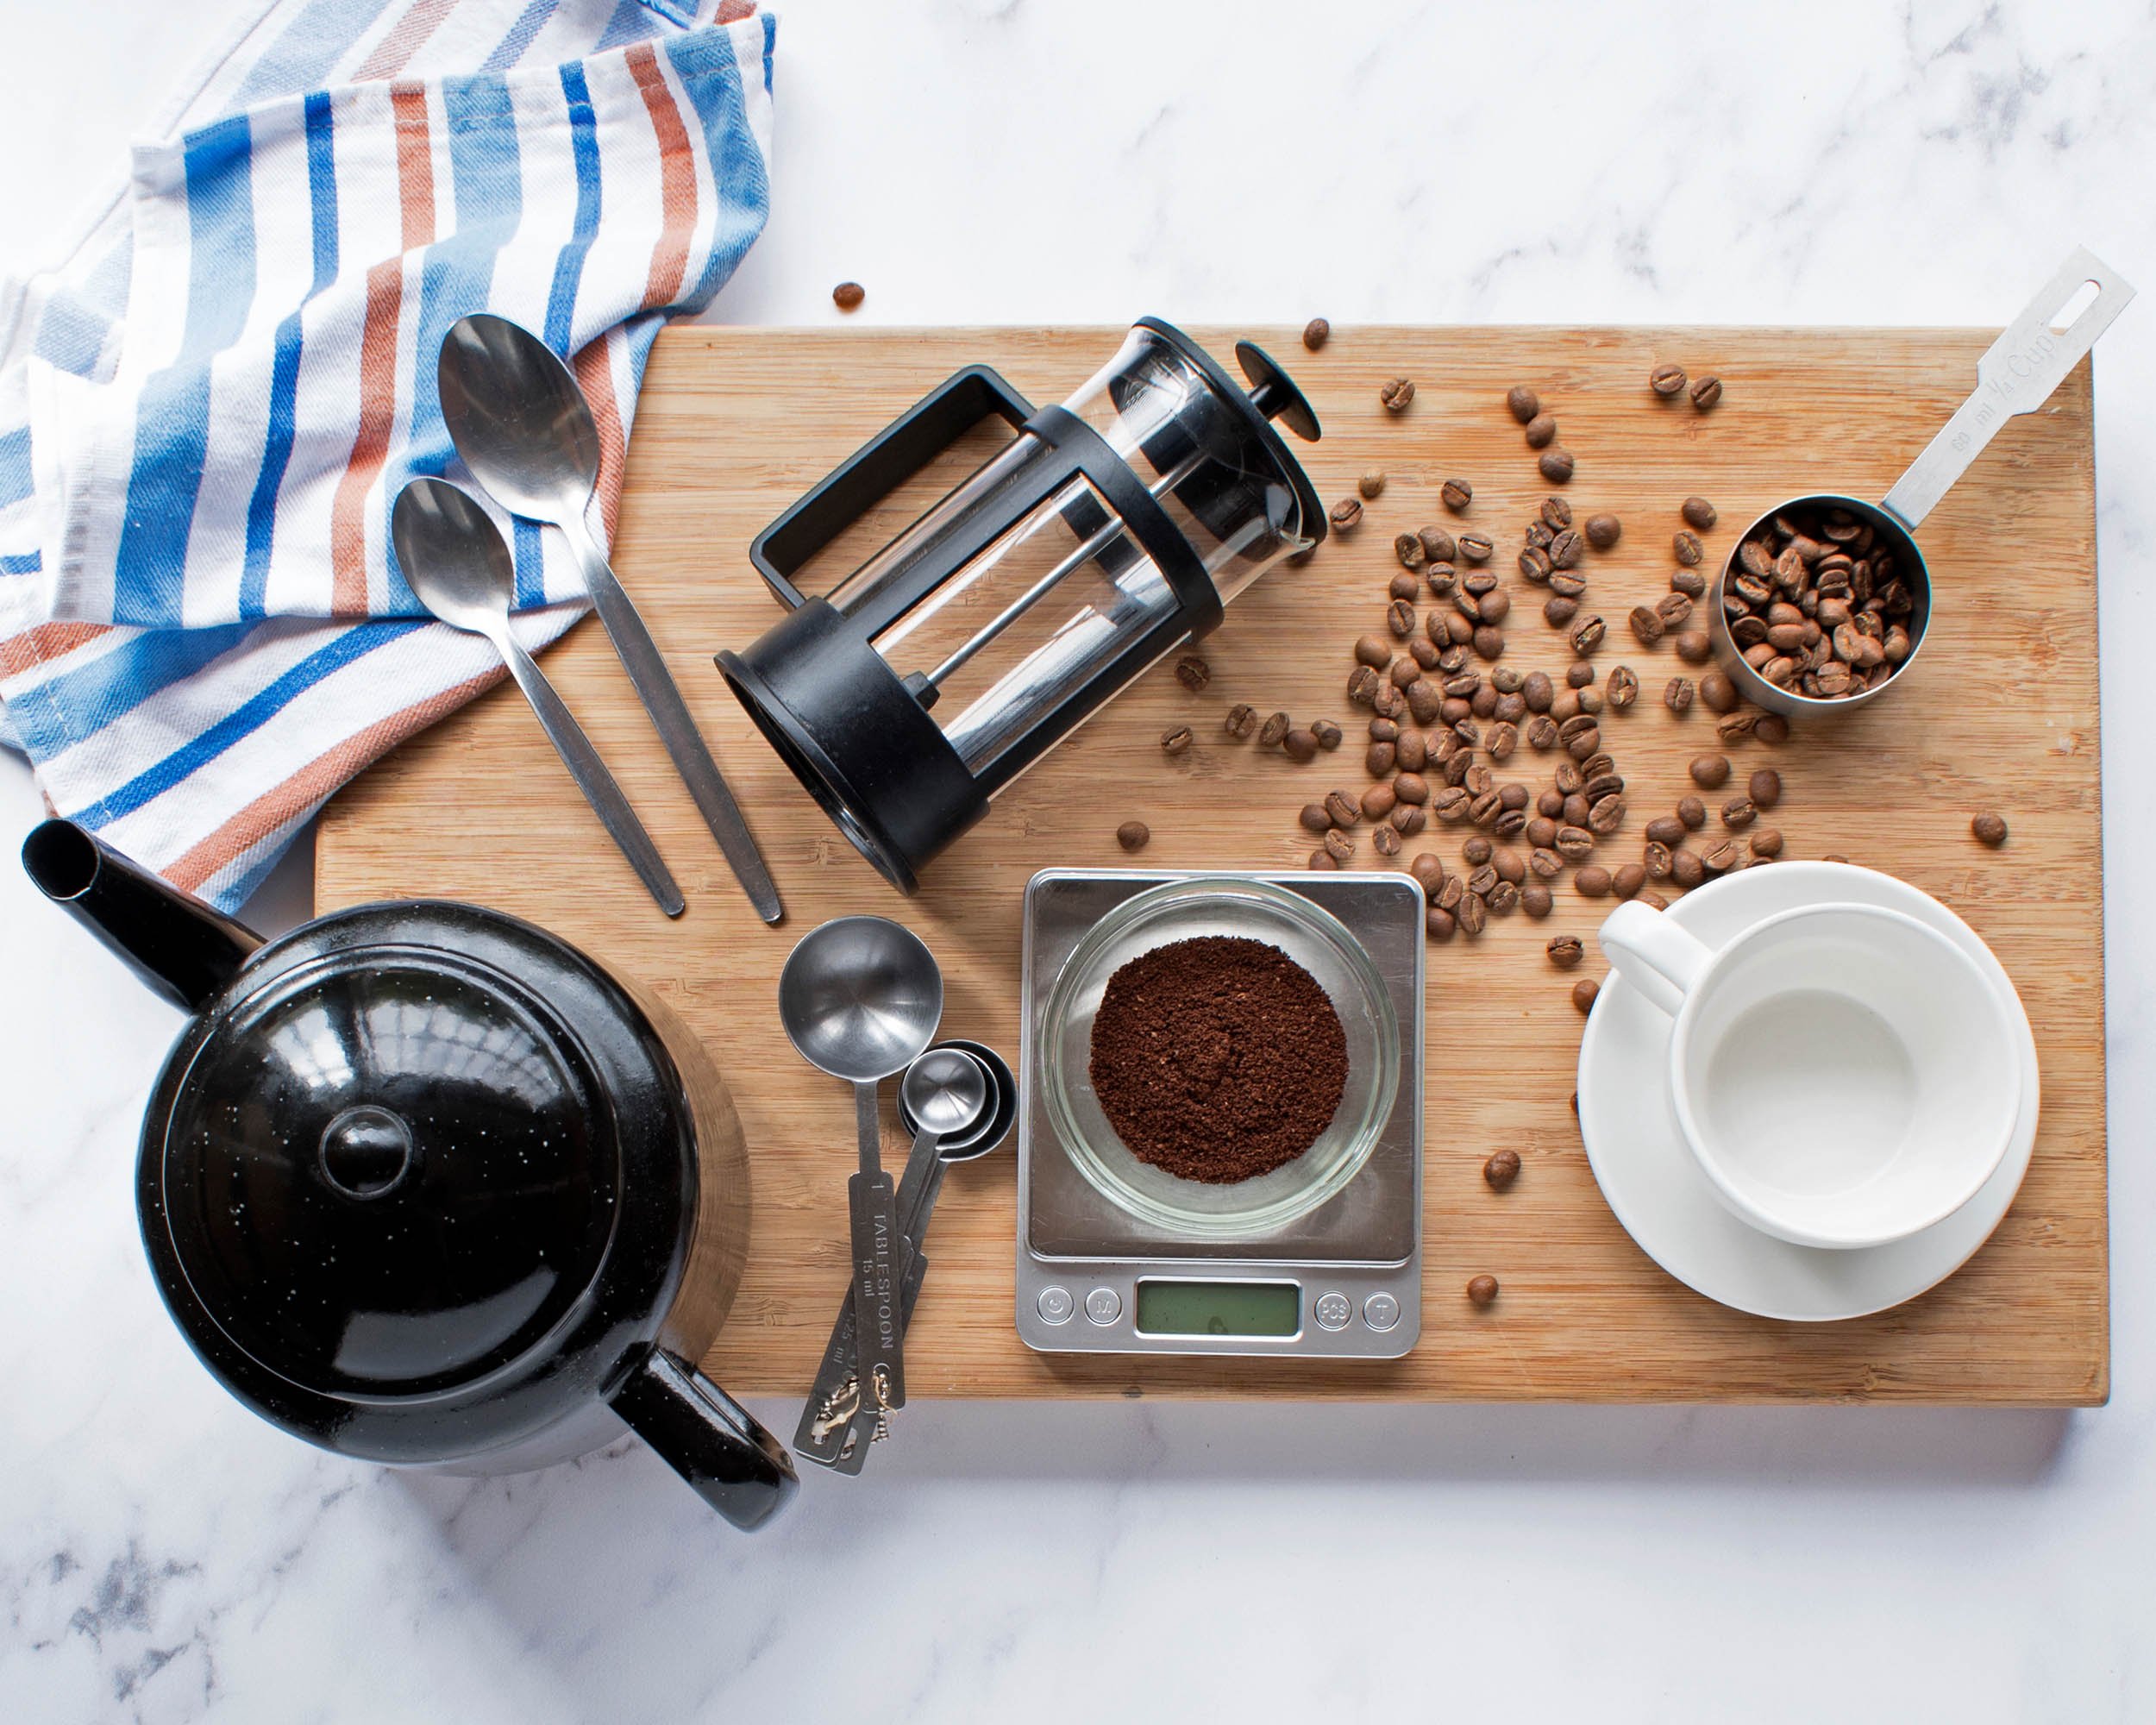
A French press
A scale that can measure small amounts, and with decimals (but decimal reading is not essential)
A kettle
A timer (on your phone, microwave or similar)
Spoons and mugs
An optional tool - a kitchen thermometer.
Step 2: Make notes
Success with troubleshooting your French press brew is contingent on you keeping track of important data points and other information about the brew process as well as your tasting notes later on. You’ll need to make note of the data your collect during the planning phase and during troubleshooting.
You will need to review your notes the next time and decide what to tweak based on the last brew. Without the notes, you will forget all about the last brew and you will not likely make progress.
Step 3: Pick a recipe and stick with it
Consistency is important, so having a structured recipe to follow and eventually modify is important.
Ignore any suggested coffee doses (grams or teaspoons) and water doses (grams or ml). I’ll cover those in the upcoming steps. We’re only interested in the process steps and recommended timings.
The tweaks come in via timings and quantities (dosing) and maybe addition/removal of some steps. But if the recipe is overly complicated and difficult to work with, don’t stick with it. Pick a different approach.
If you need a starting point, here is my everyday French press recipe.
Write down your recipe process and steps in your notebook so that you can reference it while brewing.
Step 4: Determine the final volume of your cup of coffee
This is not often given as a pointer, but I found this was a necessary step. Knowing the volume of coffee that you want in your cup helps with confirming the brewing volume in the upcoming steps. It also ensures minimal wastage and also prevents a half empty cup.
Using a scale, place your mug on the scale and press the tare button to zero the scale. Pour water into your cup until you reach the volume you want for your coffee.
It is also a good idea to confirm that the French press beaker can hold the volume you need. Single cup French press beakers are often too small to hold enough volume for a large mug.
Write down the final volume of the cup in your notebook for future reference.
Step 5: Decide on a starting ratio
This ratio should be your starting point for each bag of coffee you use. Every bag will yield slightly different results so adjustments will be based on your taste and your preference. I find having a starting set point is helpful. I used to start at 1:15 for every new coffee but now I’ve moved my starting set point to 1:16 as I learned more about my own preferences.
Ratios are a lot about coffee strength and also about taste. Strength is really about how much dissolved coffee ends up in your drink and that has a resulting taste based on strength. Strong coffee has more coffee dissolved into in the water than weak coffee.
If you want to learn more about this, check out our other article: Understanding Strength, Yield Extraction and Taste to Improve your Home Brew.
The ratios work like this: 1 gram of coffee to “x” grams of water
“x” is your variable, meaning you change it based on what strength of coffee you want. How do you know what strength you want?
Use this guide for French press brews:

Pick a starting point based on where you like your coffee. Don’t go to the extreme ends if you are uncertain. Don’t go too strong if you take your coffee black.
For each brew you make, write down your ratio used.
The ratio may change a few times as you dial in your brew. Keep track of it and note which ratios your liked or disliked so that you can troubleshoot in the direction of your ideal strength.
Step 6: Calculate your recipe measurements
At this point you have your starting (or preferred) ratio and the maximum cup volume.
You need to calculate the coffee dose and the water dose you will be using while brewing.
But first a quick question. Are you adding milk to your coffee?
If yes, you can drop your water volume to accommodate the milk to be added at the end, otherwise you will have some coffee left over in the carafe at the end. But note, adding milk will dilute the coffee so your final brew won’t be as strong as intended by the ratio. If this is an issue, when you are in the troubleshooting phase, you will need to consider adjusting the ratio.
If you’re drinking the coffee black, you’ll need to remember the amount of water you get out is not exactly what you put in. Some will be left in the beaker.
Back to calculating the doses.
Take your required water volume and divide it by the number on the right of your ratio. Here’s an example:
Ratio is 1:15
Required water volume is 250g
Coffee dose is 250/15 = 16.7g
After all that planning and preparation, you can now make your coffee.
Here is where the actual troubleshooting starts. Let’s dive in.

Step 7: Brewing and Essential Notes
You’ll record the following Brewing Notes:
Ratio (e.g. 1:18)
Ratio description (e.g. weak)
Coffee name (brand)
Coffee roast level (e.g. dark, medium etc)
Grind size (e.g. fine, medium, large)
You’ll record the following Process Notes:
Coffee dose
Water dose
Bloom water dose
Bloom time
Agitation
Brew time
Extra time where brewing exceeded the planned window
Final cup
Issues with the process e.g. forgetting to tare the scale
Tool Issues e.g. forgot to have a mug ready
Things not working correctly e.g. plunger lid placement blocked pouring
Other issues
You’ll record tasting notes:
Strength
Extraction
Everything about the brewing process needs to be considered, no mishap is inconsequential. If it affects your brew, you can troubleshoot it.
Here is an example from my notes, that I’ve transcribed:
Ratio - 1:14
Ratio description - Strong
Coffee name (brand) - FG
Coffee roast level - Dark
Grind size – No size, indicates for plunger
Cup volume – 300g
Coffee dose – 21.4g
Water dose – 300g
Bloom water dose – 50g of water
Bloom time – 30 seconds
Agitation – stirred 15 seconds during bloom
Brew time – 4 minutes
Extra time – no timing issues
Final cup – added milk
Issues with the process – forgot to put the lid on while brewing
Tool Issues – longer spoon for agitation
Things not working correctly – no issue
Other issues – should have warmed the milked because the drink was cold
(If you have a thermometer measure and record the water temperature at the start of the brew as well)
Strength – too strong, had to add extra milk to make it drinkable.
Extraction – slightly bitter, also getting a burnt aroma. Not enjoyable.
My tasting notes may not be sophisticated but I now have a reference for what I want to change in my next attempt.
Step 8: Tasting and Troubleshooting the Brew - Strength
When tasting for strength you are tasting for the perceived concentration of the coffee. Based on your assessment, you can choose troubleshooting options.
I’ve decided to troubleshoot strength first because it is an easier concept to understand from a mathematical approach, while extraction does require some process modifications.

* Bitter can be a result of a very strong coffee or over-extraction. To determine if it is ratio (strength) related, dilute the brew a little and see if the bitterness disappears. If it does, then you will troubleshoot the ratio. If not, then you will have to troubleshoot the extraction.
Step 9: Tasting and Troubleshooting the Brew - Extraction
Tasting for extraction is a way of saying is the coffee bitter, sour or flavourful?
There are a few tweaks that you can perform based on your taste results, but I recommend making only one tweak at a time so that you can assess the result and if it is leading you to the extraction result you are seeking.
I’ve listed the troubleshooting options in my preferred sequence, but it is flexible, so experiment to find your preferred approach.

It is important to note that if you get to the point of changing the grind size or roast level, you’re likely going to have to start from your starting set-point and baseline recipe. These 2 changes are drastic and you are effectively changing the key ingredients.
Step 10: Tasting the Brew – Final Assessment and Next Round
Adjusting for strength and extraction are not independent of each other. I’ve only provided a simplified approach but the truth is, the tweaks as I have provided will affect both strength and extraction. I’ve only separated the tweaks so that there is a clear troubleshooting approach that will give you good data.
You will always need to taste your brew for strength and extraction and if one tweak affects both, take a logical approach adjusting your next brew so that you can understand the outcome and correct your approach until you are happy with your brew strength and extraction.
It is the iterative troubleshooting process that will help you hone your brewing skills and tasting skills, and eventually you will also achieve a good brew.
Conclusion
Troubleshooting my French press brew was a long process, and I learned so much while doing it. There wasn't one specific guide that helped me. I had to try, fail, research and try again until I figured it out. I tried to share the process, the ideas, important takeaways and skill development more coherently than when I was experiencing it so that when you this guide you can hopefully find the success I found with my brewing.
For more tips that relate to the practical brewing experience, i.e. the things that can go wrong while brewing and how to manage them, check out this article based on my experiences and personal lessons learnt: 7 French Press Tips No One Talks About